


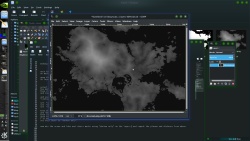
once the masks are done i use a combination of "distance transform" and "plasma noise"
on masks and images to synthetically make a heightmap
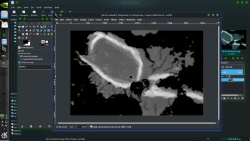
open the ocean mask in gimp
in layers duplicate it
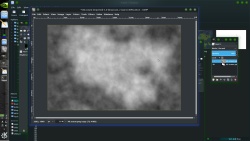
select the upper layer and in the gmic menu select "rendering / plasma"
the default values will do
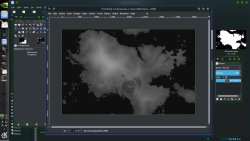
then click the "eye symbol" to hide that layer and select the lower layer
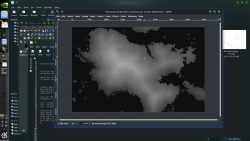
and invert the color of the lower image layer
and use the Gmic tool
"contours / distance transform"
set "value" to 255
set "metric" to Euclidean
set "normalization" to normalize
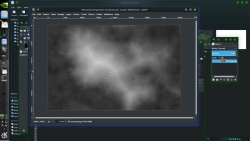
then blend the two layers by setting the upper to "50%" transparent
and "merge down"
then lower the contrast a bit
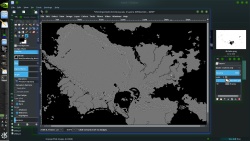
open the "ocean" mask again and copy/past it on to the current image
( or make 3 layers but if the image is BIG this will take time and RAM!!!)
set this layer to "darken only"
now mix the ocean and lake and rivers masks using "darken only" on the layers and repeat the plasma and distance from above
do some dodging and burning ( i like to use one of the "bush" brushes and for this set to 120 pixels
and blend these two images
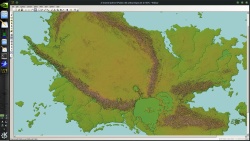
this is the base for the land
now this map has VERY LOW shaded relief shadows ( some will have MAJOR shadows and you will NOT be able to use this "cheat"
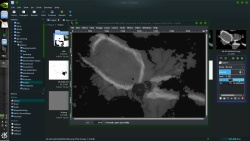
-- NOTE!!!!
this uses the terminal version of G'Mic and it dose work using MS's "cmd.exe" )
Code:gmic 4k.posterlarge.png --split_freq 0.06% -n[2] 1,255 -o[2] hi.pgm
open in gimp and paste the mask layers as "darken only"
and after applying the masks
this makes a image of just the VERY high frequency data in the image
mainly the white mountain tops ( this is a CHEAT)
dodge some of the mountain area
now duplicate the layer and add a 13px blur and set the top layer to "grain merge"
repeat with 21 px blur "grain merge"
and 31 pixels "grain merge"
then a few duplicate / blur/ BUT LIGHTEN ONLY on the layers
adjust the gama point so that the low areas are a bit darker
( 0.8 ot 0.6 should do)
-- like i said this is a CHEAT do to the very low amount of shadows !!!!!
now blend the two
the "noise and distance " with the highpass above
then "normalize
( color / auto / normalize )
this stretches the tones to 0 to 255
time for wilbur


 Reply With Quote